How to repair RV roof leaks yourself and when to call a pro
By Tammy Rourke · September 19, 2026 · updated September 21, 2026
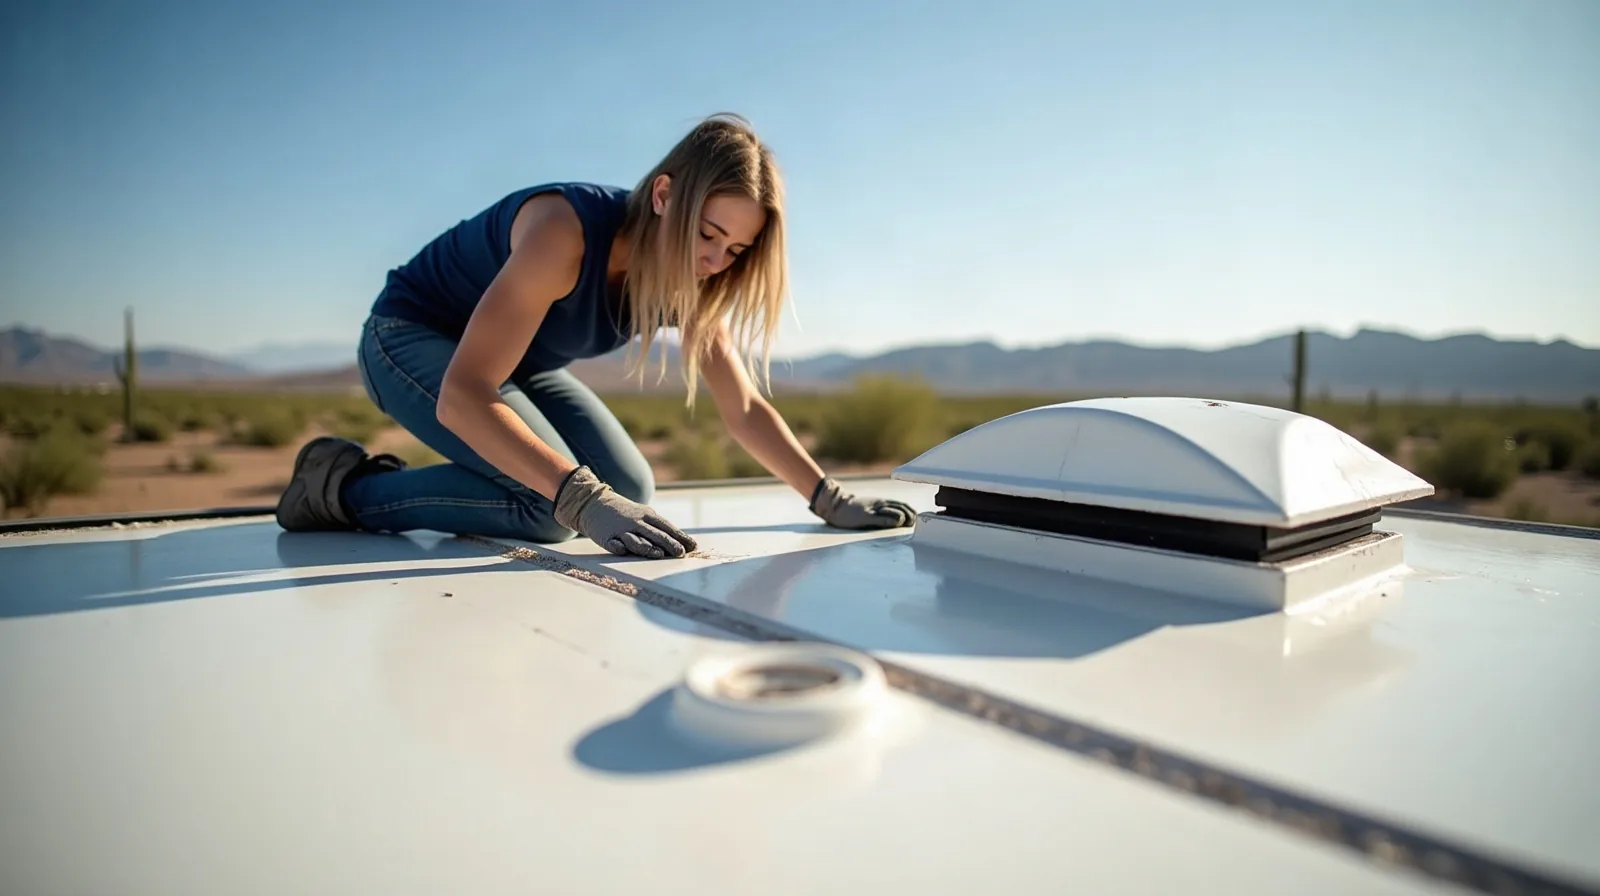
Last March I walked out to the coach in my Mesa driveway at six in the morning, coffee in hand, and saw a fresh water stain the size of a dinner plate on the ceiling inside the front cap, which is when I started calling RV roof repair shops in Mesa. It had rained two days before. A hard desert downpour that told me my 2016 Class A had been weeping quietly into the insulation for months. I spent sixteen years chasing water through boat decks, and I still tried the wrong fix first becuase I forgot the first rule of how to repair RV roof leaks: find the source before you touch the sealant. Most roof leaks start where somebody sealed a seam in a hurry, not in the middle of the membrane, and the price difference between a tube of lap sealant and a new deck is about $6,800 on my rig. I keep a tube of self-leveling lap sealant, a roll of butyl tape and a couple of phone numbers for RV roof repair shops and mobile techs in Mesa in the front hatch now. Water doesn’t wait.
If you’re reading this with a stain on your own ceiling, dont panic and don’t start caulking blind.
How to Repair RV Roof: Know Your Roof Material Before You Touch It
First thing, figure out what the roof membrane is made of. Wrong cleaner or sealant on the wrong surface will wreck it, and then every future repair gets harder. Most rigs have EPDM rubber, TPO, fiberglass, or on older ones aluminum. EPDM chalks up and feels like an inner tube, TPO is slicker and shinier. Silicone has no business on EPDM or TPO, because nothing sticks to it afterward.
Use a cleaner made for your roof type or mild soap and water. Never put mineral spirits on EPDM. A bottle of roof cleaner is a small price compared with a new membrane later. Once you know what you’re standing on, the real question is where the water is actually getting in.
Find the Leak by Reading the Stains, Then Walking the Roof
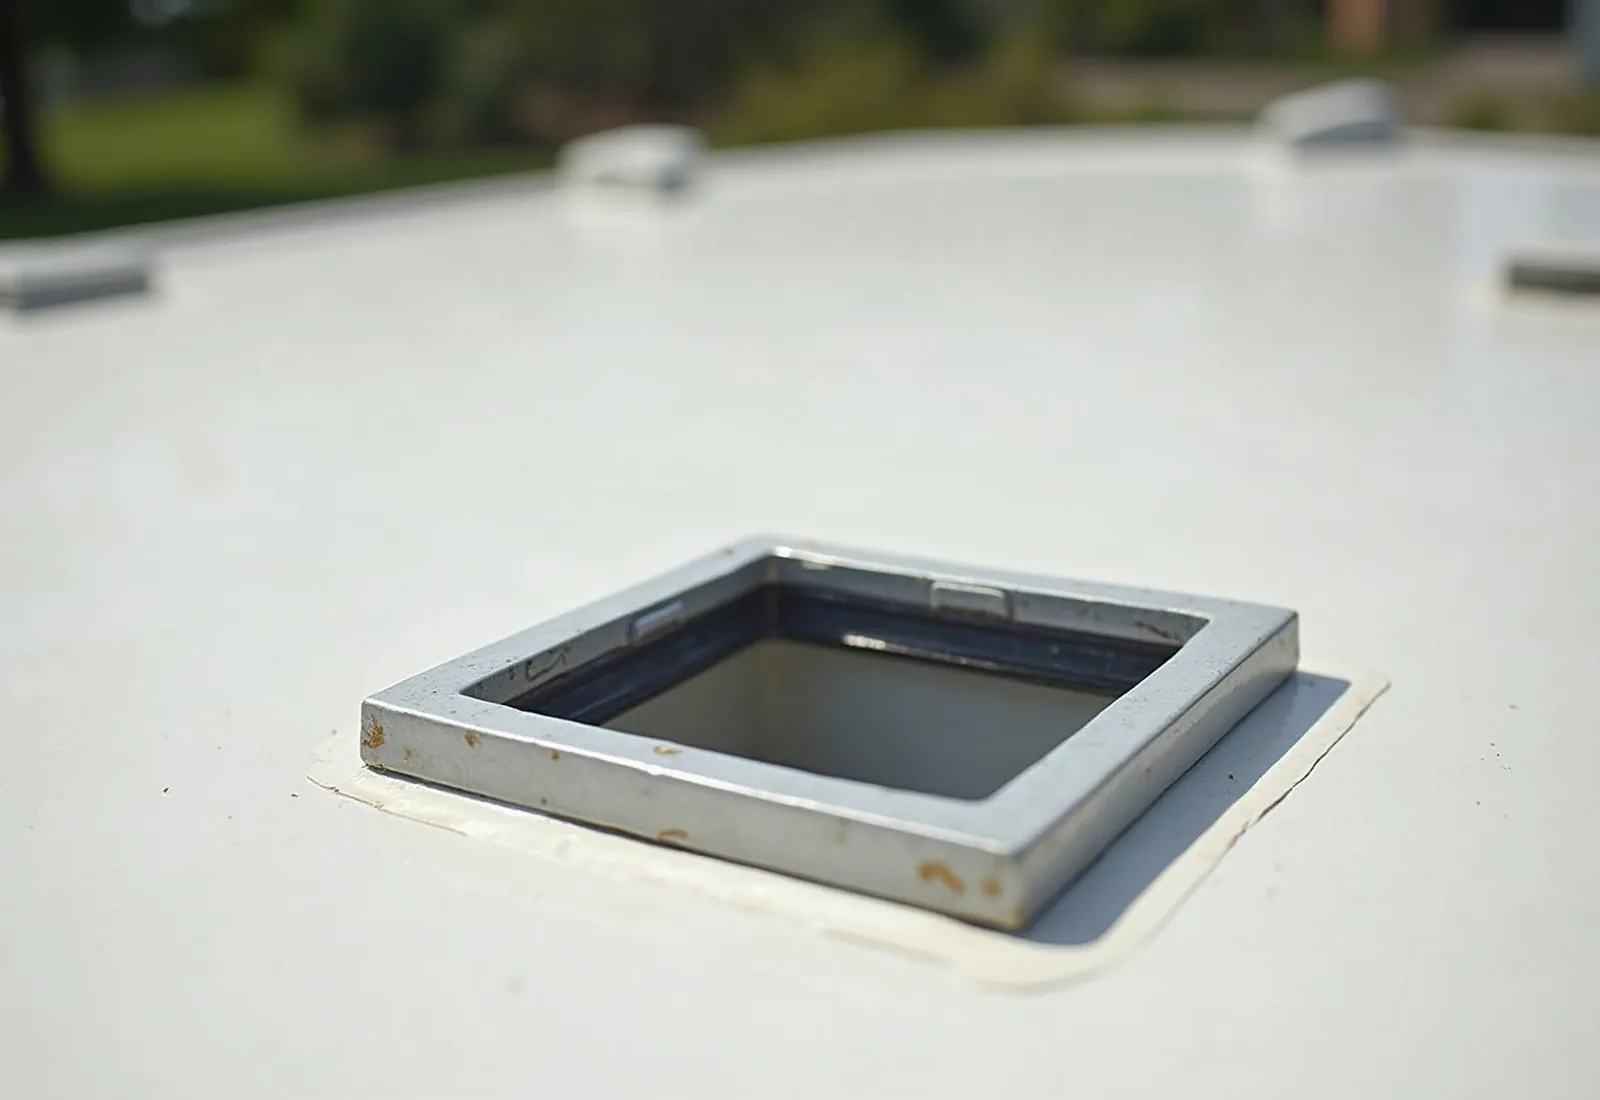
Water runs downhill and sideways, so the stain on your ceiling may be three feet from the actual hole. Go up and walk every seam: vents, the AC, antennas, skylights, the front and rear caps, and the side edge seams. Cracked, lifted or missing sealant is your suspect list.
Clean the stain area, wait for dry weather, and then spray the suspected seams with a hose one section at a time while you watch inside.
Use a sturdy ladder on solid ground, not leaning on the awning arm or a loose bunk. If you’re on a rubber membrane and feel a soft spot, put a piece of plywood down to spread your weight. And be careful: soft decking means the wood underneath has rotted, and you may put a foot thru it. Which is the point where you stop thinking about a tube of sealant and start thinking about a saw.
The DIY Repair: Clean, Scrape, and Seal the Right Way
Once you’ve found the leak, fix the sealant properly. The sealant job itself is simple, but only if you use the right product in the right place.
Always match the sealant type to the surface. Self-leveling on a vertical wall will run down like pancake batter and look terrible. Non-sag on a horizontal roof holds a ridge and water can pool behind it.
Printable checklist: RV roof leak repair
- Identify roof type (EPDM, TPO, fiberglass, aluminum)
- Inspect inside stains and trace to upper seams
- Set up ladder on firm ground; no wet or icy roof
- Bring plywood to spread weight if roof is soft or not walkable
- Remove loose sealant with plastic scraper
- Clean with compatible cleaner, dry
- Apply self-leveling sealant on horizontal fixtures
- Apply non-sag sealant on vertical seams and edges
- Use butyl tape under trim and flanges
- Patch tears with butyl-backed seam repair tape
- Let cure per product instructions (usually 24 hours)
- Check work with a garden hose the next dry day
When Soft Decking Says Stop Calling It a Sealant Job
If you step on the roof and feel a springy or spongy area, or if the ceiling underneath is sagging and wet, you’ve got a bigger problem. Sealant won’t fix a rotted deck any more than paint fixes termites.
Most RV shops and mobile techs charge roughly $100 to $200 an hour, and a full roof deck replacement offen starts around $5,000 and runs up to $15,000 or more. Depends on how far the rot has spread into the sidewalls.
Look up RV roof repair specialists nationwide and get two quotes. They’ll bring a moisture meter and trace the extent before they saw into anything. And if you see delamination on the sidewalls below that roof leak, the fiberglass skin bubbling and pulling away from the backing, that’s covered in our post RV delamination repair cost, and when a wavy wall isn’t worth fixing.
I watched this video while resealing my roof and it helped me avoid some rookie mistakes.
My Own Mistake: The $300 Lesson in Reading the Old Sealant
My mistake was grabbing self-leveling sealant for a vertical seam on the front cap. It ran down the cap like syrup and sealed nothing. The fix that worked: I waited for a hot, dry afternoon, used a plastic scraper to lift the loose old sealant off the front cap seam, cleaned the area with a cleaner made for that membrane, dried it with a rag, then ran a thin line of non-sag lap sealant along the vertical cap seam, that was two years ago and it’s held. Total cost: about $45 for the right sealant and plastic scrapers, plus an afternoon. Total waste before that: about $300, counting the first tube of sealant, the second trip to the store for more, and a new tube of solvent I didn’t need. I got lucky that the water had only just started moving into the ceiling, not down the walls.
Water Damage That Has Already Reached the Floor or Walls
If the roof leak has been going long enough to stain the ceiling, it has probably wicked down the walls and into the subfloor. The ceiling stain is just the part you can see.
A moisture meter is inexpensive at a home improvement store, and it will show you where the wet wood ends and the dry wood begins.
This is exactly the situation where the damage exceeds the value of the rig. A 20-year-old travel trailer with a rotted roof and a soft floor from end to end may not be worth a $10,000 rebuild. But a newer fifth wheel or a Class A with a single corner of damage often is. Run the numbers before you call the scrap yard. For more on the floor problem, read our post RV water damage floor repair cost: soft spots, subfloor and the estimate nobody wants.
What You Can Fix, What You Should Pay a Tech to Do
Here’s where I land after years of doing my own roof work and watching friends call techs. The line is simple: if it needs a tube of sealant or a patch, do it yourself. If it needs a saw or a heat gun, call somebody.
What I won’t do myself, and I advise you not to, is anything that requires removing the membrane or cutting out decking. That’s a job for a pro with a moisture meter, a heat gun, and the ability to match the new membrane to the old without ugly seams. And if you see significant delamination on the sidewalls, meaning the fiberglass skin is lifting off in waves and bubbles, stop and get a structural opinion. That often runs $3,000 to $10,000 or more per wall, and on an older rig it may mean the RV is total.
Put a Garden Hose on It Before You Put the Ladder Away
The best test I know costs five dollars and an hour of your time. Run a garden hose over each seam you sealed, one at a time, while somebody inside watches the ceiling with a flashlight.
This weekend, pull up RV roof repair shops and mobile techs in Mesa or your own town and call two of them. Ask for a written estimate for a roof inspection and reseal if you have any doubts. If you know exactly which seam is leaking, fix it yourself with the right sealant and then test it with the hose. Water always wins if you ignore it, but a $10 tube of the right lap sealant put down in time beats a $6,000 roof replacement every single time.
Related reading
FAQ
How do I know if my RV roof is EPDM or TPO?
Look at the membrane closely. EPDM rubber is typically dull, often chalky, and feels like a thick inner tube. TPO is usualy shinier, feels more like plastic, and many TPO roofs are white and glossy. If you rub EPDM with a finger, it leaves a grayish residue. When in doubt, check the owner's manual or request a sample from the dealer.
What is the best sealant for an RV roof?
For horizontal surfaces like around vents and AC units, use self-leveling lap sealant. For vertical seams like front and rear cap edges, use non-sag sealant. Use butyl tape under trim pieces and flanges. Always choose a sealant that is compatible with your roof membrane. Do not use silicone on EPDM or TPO; it fails and prevents future adhesion.
Can I walk on my RV roof to repair a leak?
Many motorhomes can support a person if you walk near the edges or on marked crossmembers, but travel trailers and fifth wheels often have thinner decking. Check the owner's manual. Spread you're weight with a sheet of plywood over the rafters, never walk on a wet or soft roof, and have a spotter with a cell phone outside.
How much does it cost to have a professional reseal an RV roof?
A shop or mobile tech typically charges $300 to $1,000 to reseal the common roof fixtures, depending on how many vents, the AC, and seams need work. A small patch or specfic leak repair usually runs $200 to $800. Full membrane replacement is much more, often $5,000 to $15,000 on a 30-foot rig, plus decking repairs if the wood is rotted.
When should I not DIY my RV roof leak?
If you step on the roof and feel a soft spot, or the ceiling below is sagging and wet, the roof deck has rotted. Stop immediately. That requires removing the membrane, cutting out the bad plywood or OSB, and replacing it. That is a pro job, usually $5,000 to $15,000 or more depending on the size. Also call a pro if the damage includes sidewall delamination or you cannot safely access the roof.
How often should I inspect my RV roof for leaks?
Check your roof sealant at least twice a year, and many manufacturers say evry 90 days or so and before each season. The desert sun and northern winters can crack sealant faster. Look for cracks, lifting, or missing sealant around every penetration. A visual check costs nothing and can save you thousands in water damage.
What should I avoid cleaning an EPDM roof with?
Never use petroleum solvents like mineral spirits or paint thinner, harsh citrus cleaners, or abrasive pads on EPDM. They break down the rubber and cause premature failure. Use a product made specifically for EPDM or TPO roofs, or mild dish soap and water with a soft brush. Rinse thoroughly and dry before applying sealant.
Find RV repair near you
Compare RV service centers and mobile techs in your city, then ask a few for a quote on the job.
Browse by state